
MY DIY Wedding Invitations #WeddingWednesdays


Happy #WeddingWednesday !
A new series that I’m bringing to my blog to share everything wedding related from my planning, experience, and advice!
Today’s post is all about my DIY wedding invitations! I’m going to go through my step-by-step process and the reason why I decided to do my own invitations. Okay- let’s get started!
Why DIY wedding invitations? Well honestly, I’m on a budget and I can’t afford to spend $300-500 on stationery items! When I reached out to several local vendors for quotes, I just knew I had to go another route. I think the best question to ask yourself is, “Is this a priority for you?” If stationery isn’t a priority to you, research ways to do it yourself. I actually even did my own engagement party invites and I sent the save the dates electronically, so I knew I could create the wedding invites myself.
Where can I find inspiration for the design? PINTEREST!!! This is honestly where I get all of my inspiration for my wedding.
My Process
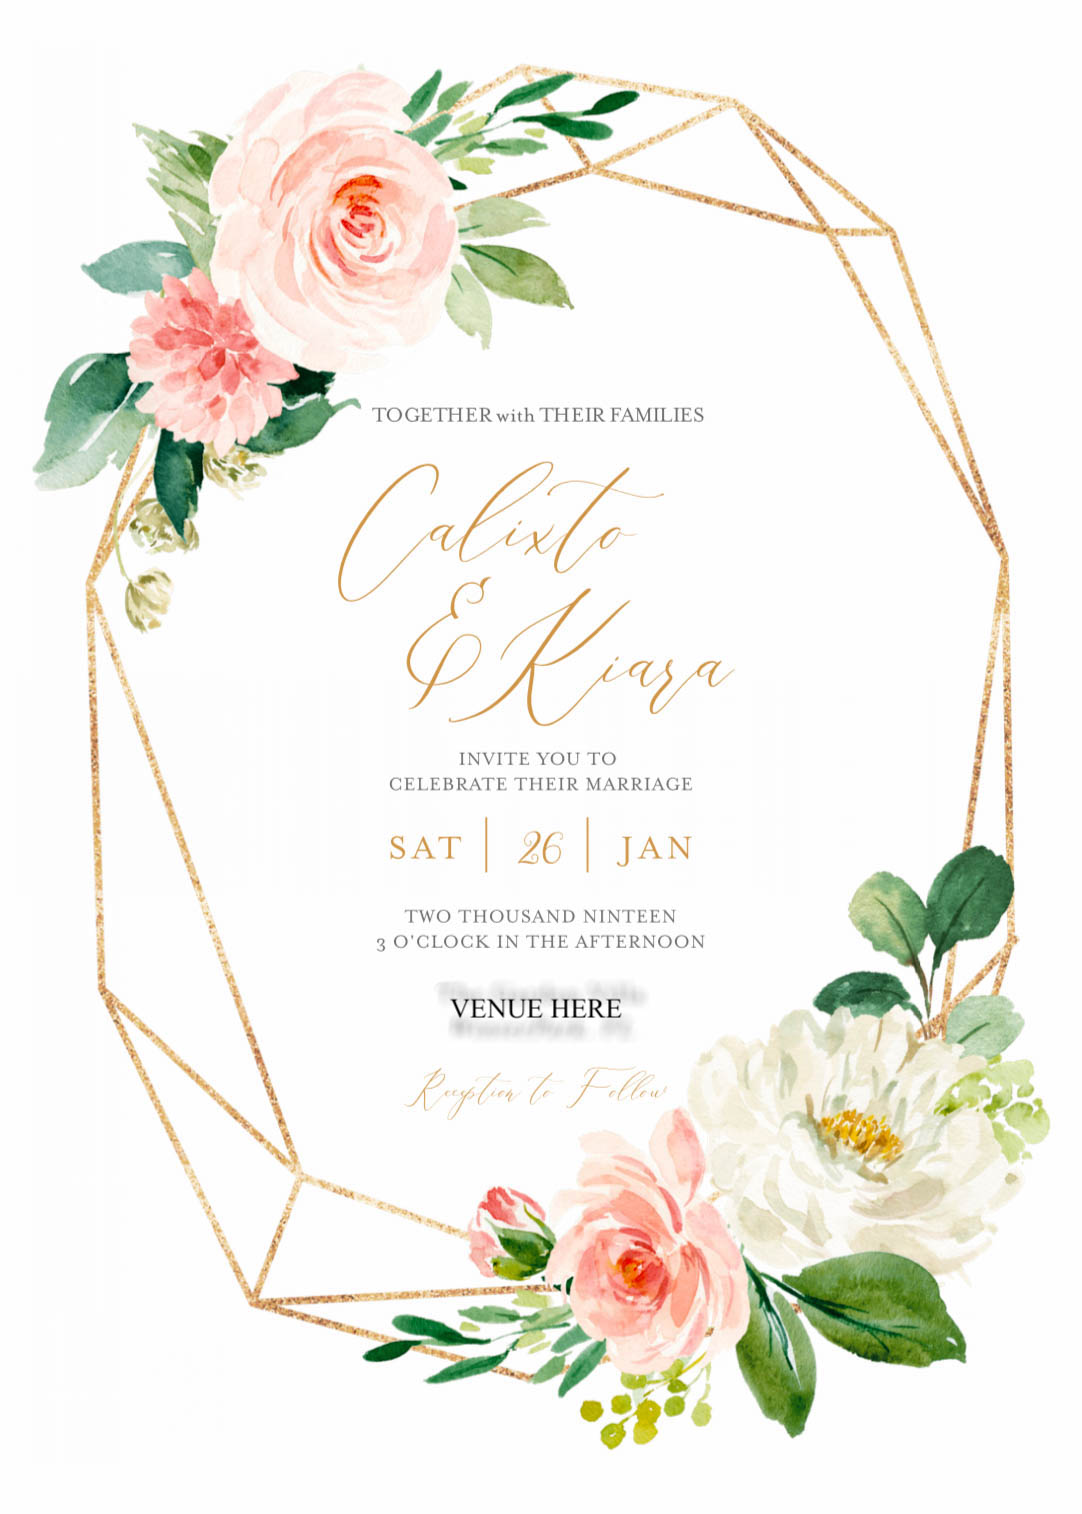
The design- I bought a template through Etsy for $7 and customized the text and layout to match my liking
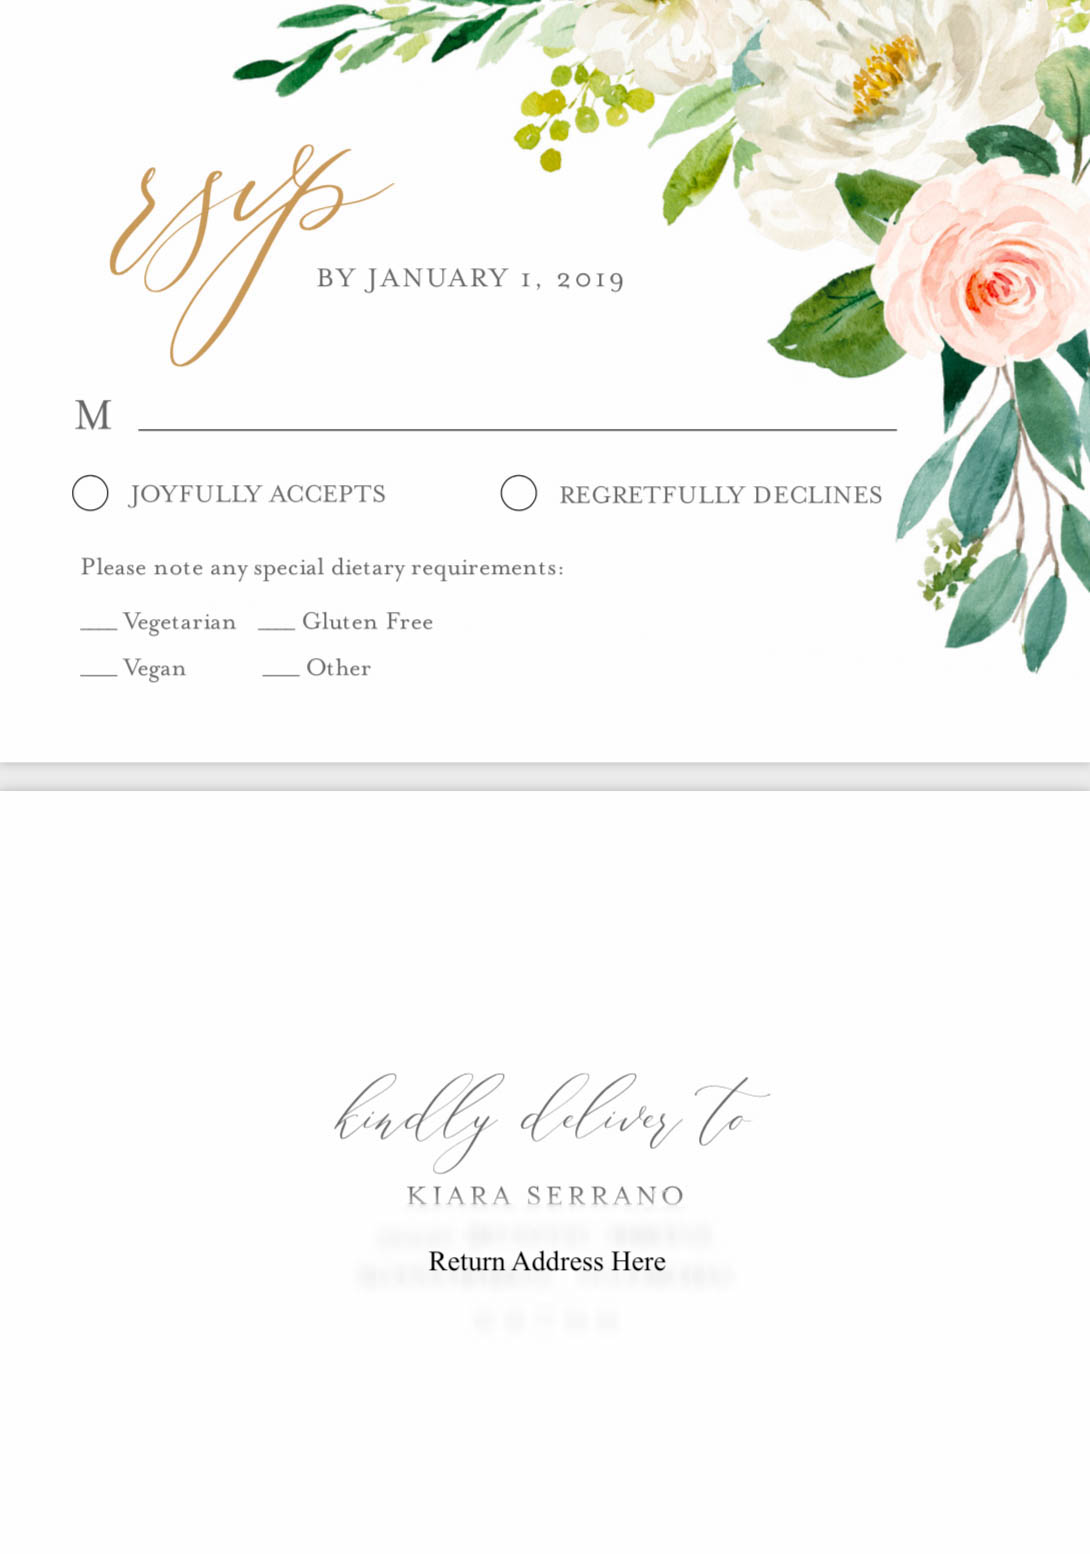
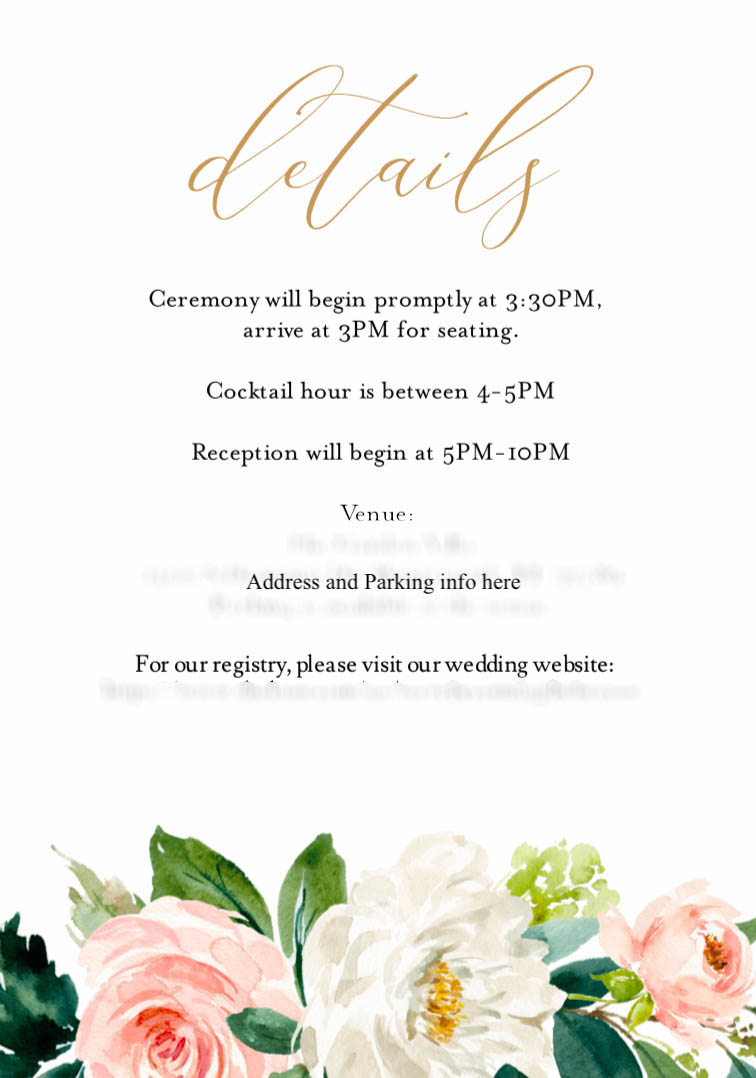
2. Printing- I researched for a local printing store and found one that had amazing prices for printing these on colored cardstock paper. I ended up pay $60 in total for 70 invites per card (70 invites, 70 rsvp cards, 70 detail cards) which was honestly in my opinion a steal!
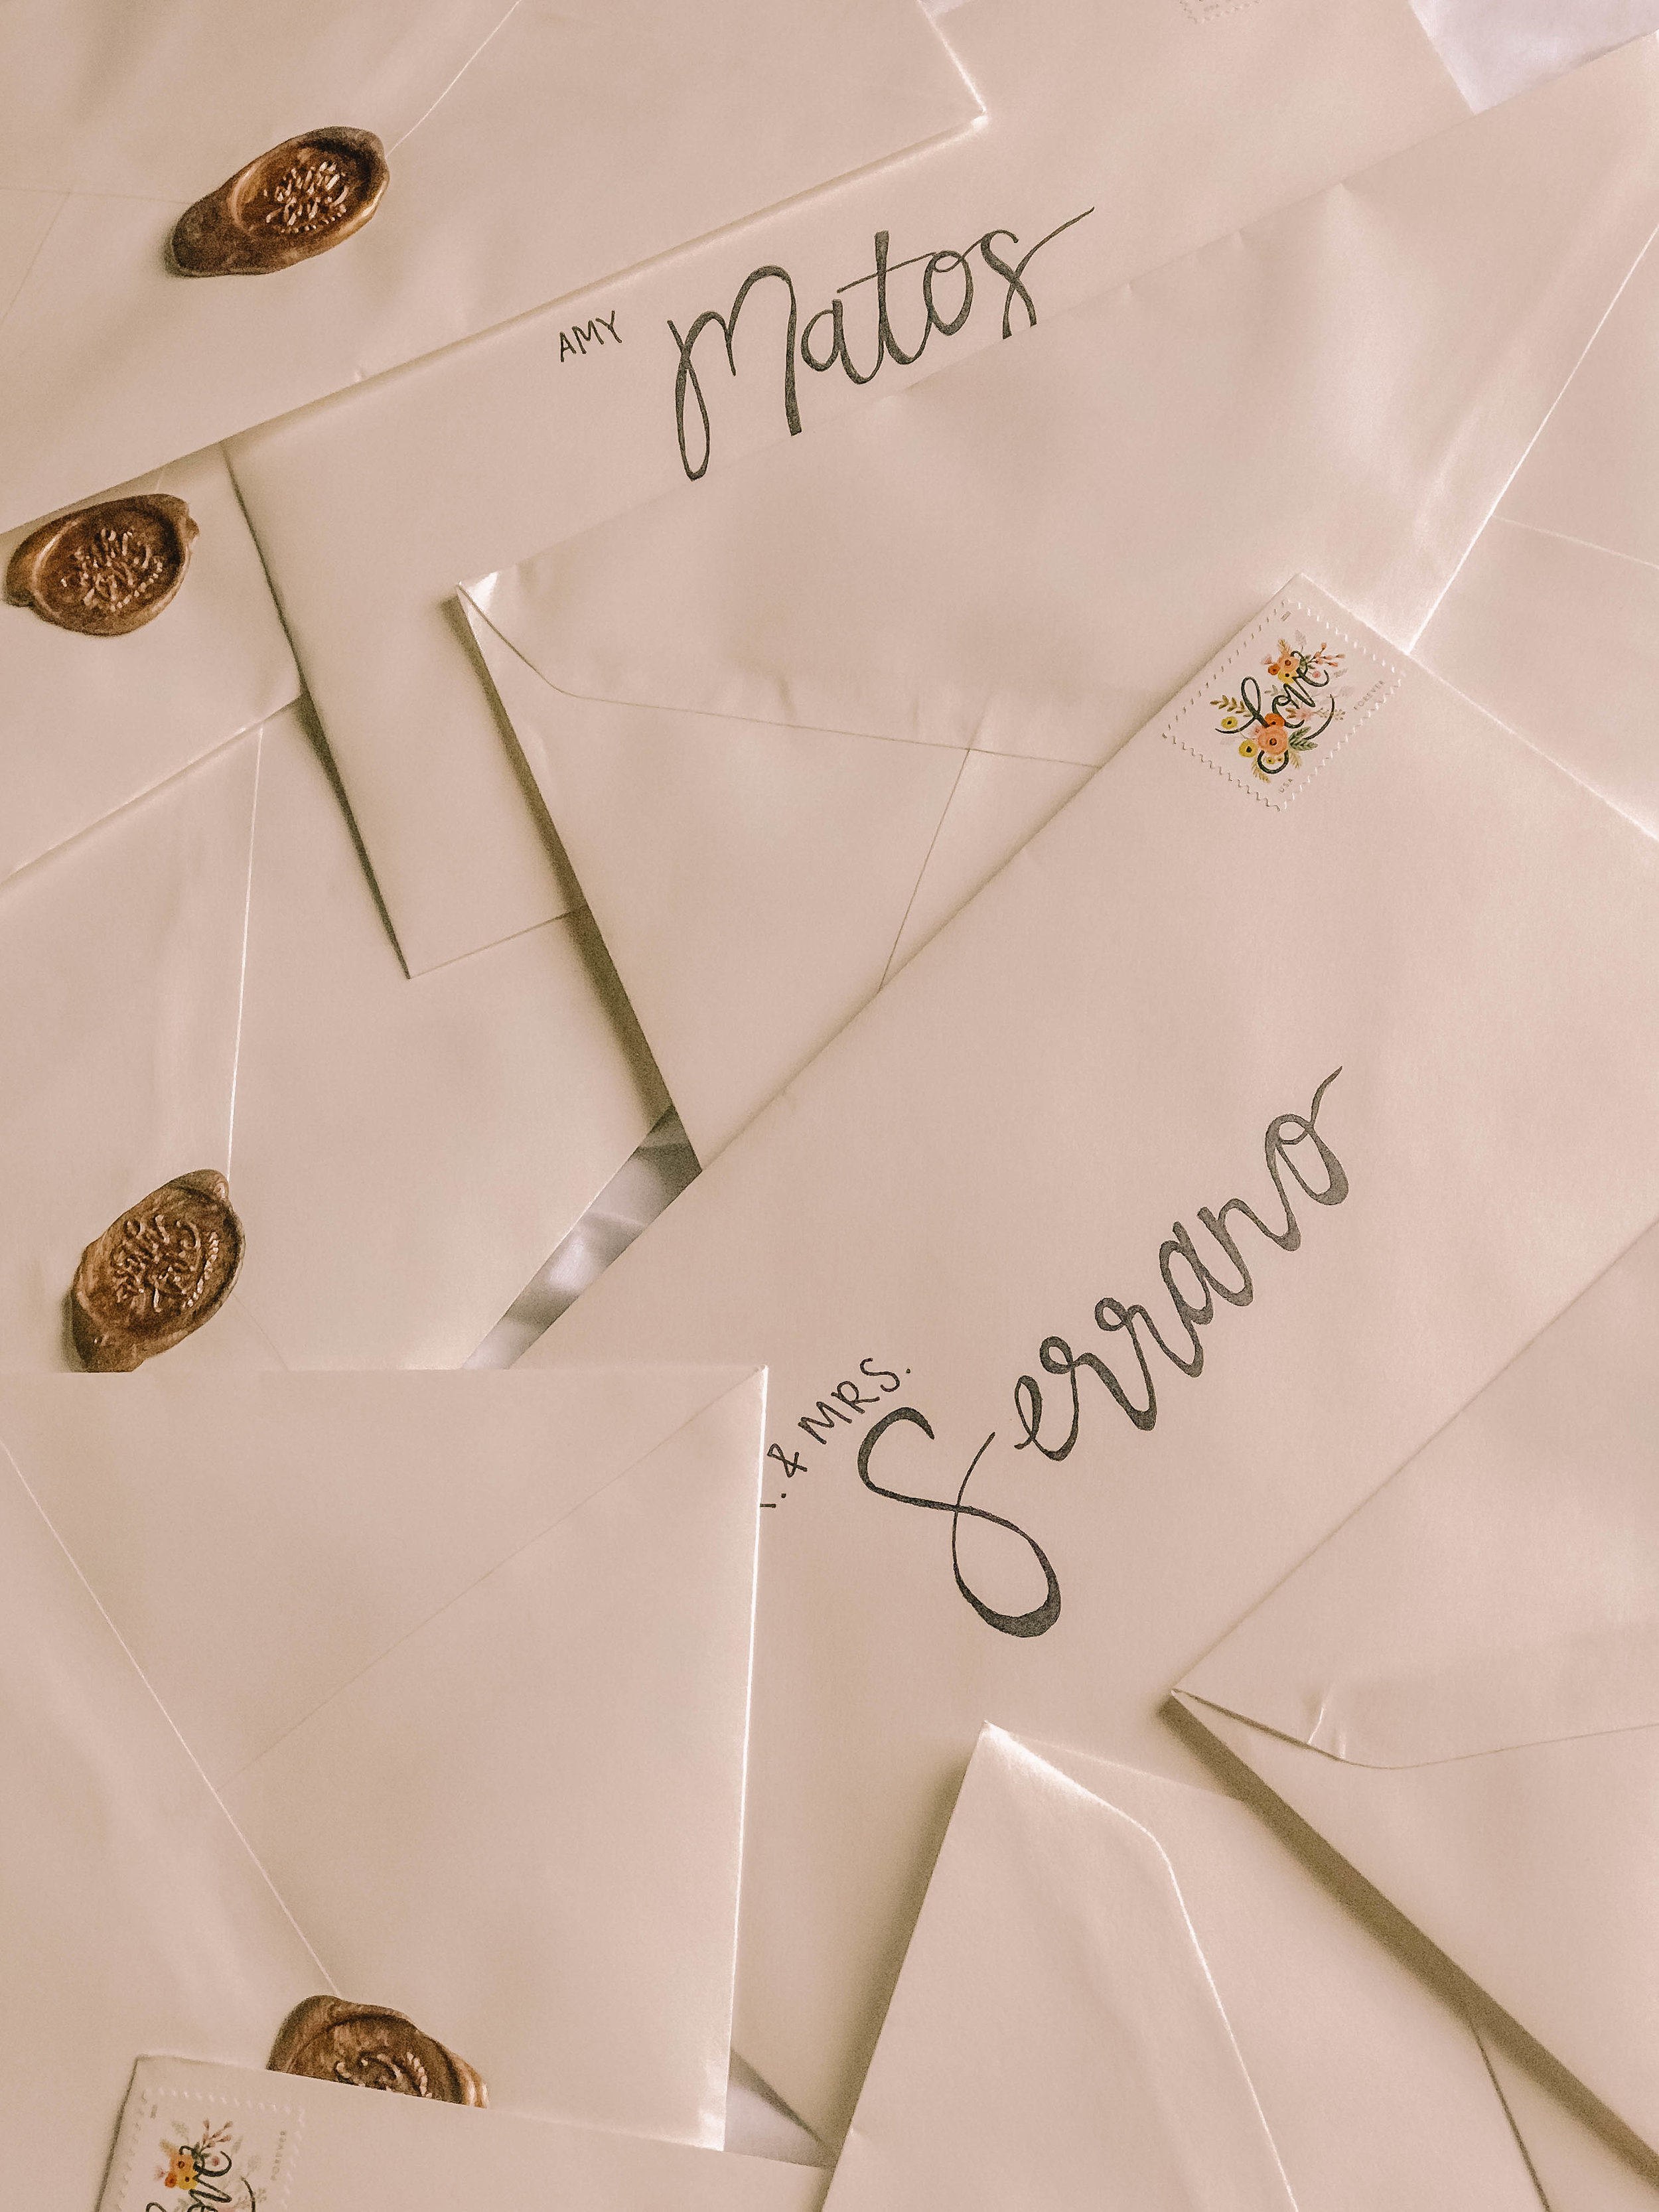
3. Envelopes- I found a pack of of 50 envelopes at Target for less than $15 that were the perfect cream color and size. I then wanted to create the wax seal look and bought materials through Amazon. I ended up choosing the “with love” stamp and gold wax. There’s so many different designs and colors to choose from! Doing the actual wax part was pretty simple as well, there’s so many youtube videos about it! The easiest way I did it was to light the wick from the wax stick and let it drop onto the envelope and create a circle. Once you created the circle, place your seal stamp firmly on the wax and viola! Your stamp has been created! It’s that simple!
4. Finishing touches- I knew I wanted to attempt to do calligraphy and this is when my MOH came into to play to help me with this project. We spent all night practicing with pencil our own “calligraphy” and went over it with sharpie pencils! Then added a cute stamp AND THAT’S IT!
Overall, I spent exactly what I had budgeted for which was around $150 for exactly 50 invitations! It’s def a good option for those with a smaller guest list and budget!
Hope you all enjoyed my first wedding topic post and please comment with anymore requests! I’m a huge believer in budgeting and DIYs ESPECIALLY when it comes to wedding planning!